一 为啥要用注解
1.1 注解的好处?
xml配置文件太过繁琐,可以直接写在类上,xml配置文件需要在xml中配置- 官方推荐使用注解,后面
SpringBoot中配置,代码简洁,大大提高开发速度 - 发潮流
Spring2.x引⼊注解Spring3.x完善注解SpringBoot普及 推⼴注解编程
1.2 啥是注解编程?
- 指的是在类或者⽅法上加⼊特定的注解(@XXX),完成特定功能的开发。
@Component
public class XXX{}
1.3 发展历程
Spring2.x开始⽀持注解编程@Component @Service @Scope..⽬的:提供的这些注解只是为了在某些情况下简化XML的配置,作为XML的有益补充。Spring3.x @Configuration @Bean..⽬的:彻底替换XML,基于纯注解编程Spring4.x SpringBoot提倡使⽤注解常⻅开发
1.4 优缺点
- 优点
- 简化配置
- 使用起来直观且容易,提升开发的效率
- 类型安全,容易检测出问题
- 缺点
- 修改起来比
xml麻烦 - 如果不项目不了解,可能给开发和维护带来麻烦
- 修改起来比
二 Spring基本常用注解的使用
这个阶段的注解,仅仅是简化XML的配置,并不能完全替代XML
2.1@Component
- 作⽤:替换原有spring配置⽂件中的
<bean>标签 - 注意: id属性 component注解 提供了默认的设置⽅式 ⾸单词⾸字⺟⼩写 class属性 通过反射获得class内容


细节
- 如何显示指定⼯⼚创建对象的id值
@Component("u")- Spring配置⽂件覆盖注解配置内容
applicationContext.xml 中
<bean id="u" class="com.baizhiedu.bean.User"/>
id值 class的值 要和 注解中的设置保持⼀值- 其他衍生注解
@Component 使用在类上用于实例化Bean
@Controller 使用在web层类上用于实例化Bean
@Service 使用在service层类上用于实例化Bean
@Repository 使用在dao层类上用于实例化Bean
这些本质上就是@Component
如果注解与配置同时出现,配置会覆盖注解的配置
import org.junit.Test;
import org.springframework.context.support.ClassPathXmlApplicationContext;
/**
* @description:
* @author: shu
* @createDate: 2023/7/29 23:05
* @version: 1.0
*/
public class AplTest {
/**
* @description: 测试组件注解
*/
@Test
public void componentTest(){
ClassPathXmlApplicationContext applicationContext = new ClassPathXmlApplicationContext("applicationContext.xml");
// 注解方式创建对象时,对象的id默认为类名首字母小写
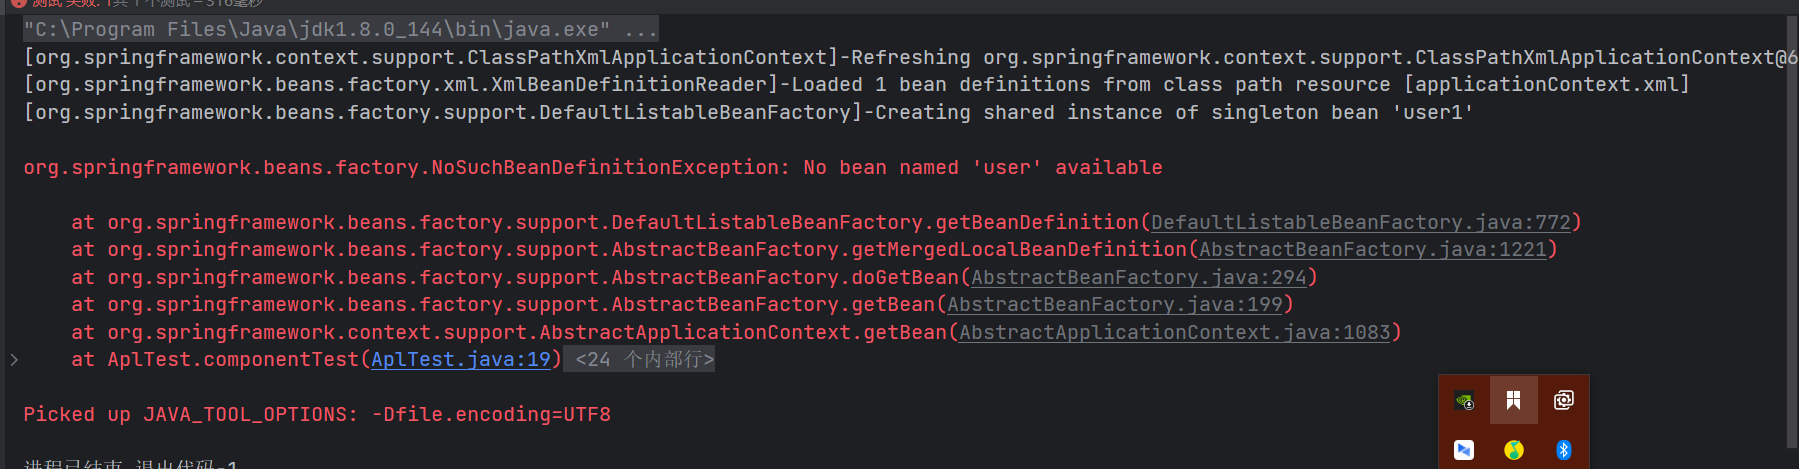
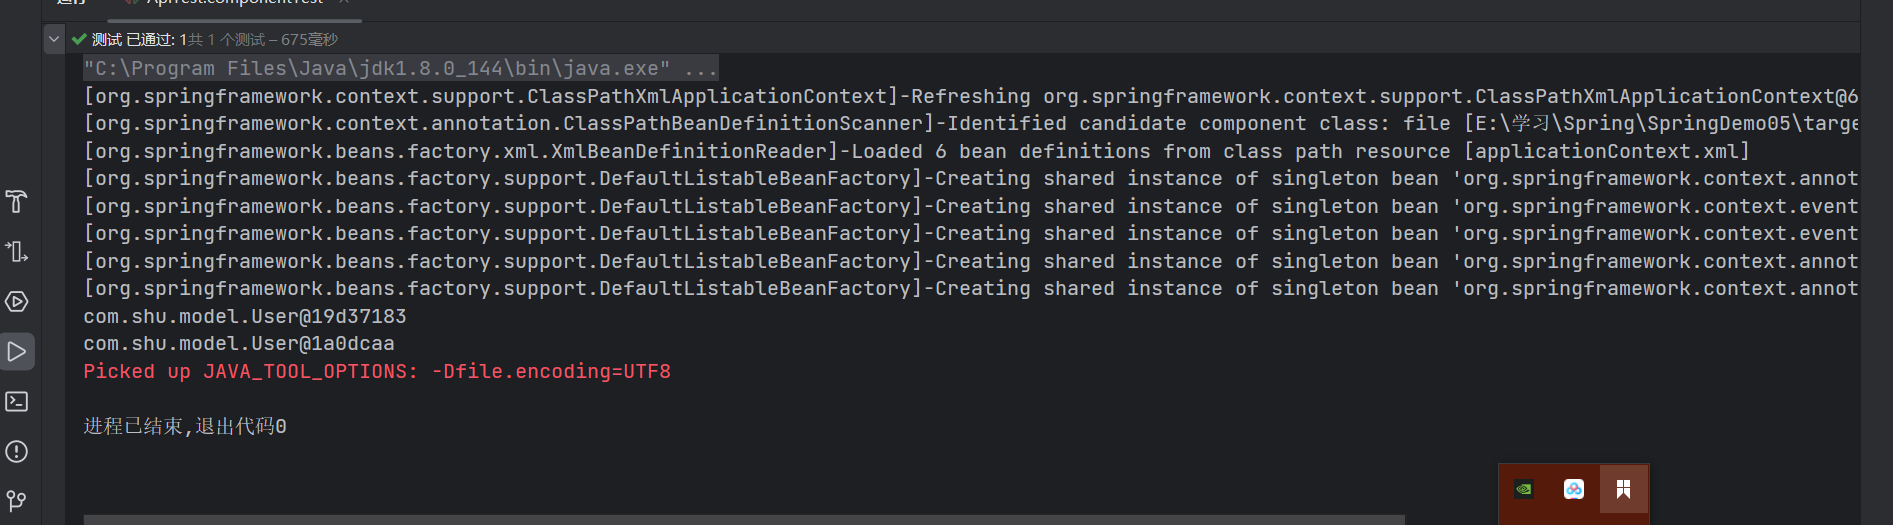
Object user = applicationContext.getBean("user");
System.out.println(user);
// 配置
Object user1 = applicationContext.getBean("user1");
System.out.println(user1);
}
}
总结
@component是spring中的一个注解,它的作用就是实现bean的注入。
在Java的web开发中,提供3个@Component注解衍生注解(功能与@component一样)
衍生注解:
1、@Controller 控制器(注入服务) 用于标注控制层,相当于struts中的action层。
2、@Service 服务(注入dao) 用于标注服务层,主要用来进行业务的逻辑处理。
3、@Repository(实现dao访问) 用于标注数据访问层,也可以说用于标注数据访问组件,即DAO组件。
@Component泛指各种组件,就是说当我们的类不属于各种归类的时候(不属于@Controller、@Services等的时候),我们就可以使用@Component来标注这个类。
2.2 @Scope
作⽤:控制简单对象创建次数 注意:
不添加@Scope Spring提供默认值 singleton
<bean id="" class="" scope="singleton|prototype"/>
prototype
import org.junit.Test;
import org.springframework.context.support.ClassPathXmlApplicationContext;

/**
 * @description:
 * @author: shu
 * @createDate: 2023/7/29 23:05
 * @version: 1.0
 */
public class AplTest {


    /**
     * @description: 测试组件注解
     */
    @Test
    public void componentTest(){
        ClassPathXmlApplicationContext applicationContext = new ClassPathXmlApplicationContext("applicationContext.xml");
        // 注解方式创建对象时,对象的id默认为类名首字母小写
        Object user = applicationContext.getBean("user");
        System.out.println(user);
        // 通过类型获取对象
        Object user1 = applicationContext.getBean("user");
        System.out.println(user1);
//        // 配置
//        Object user1 = applicationContext.getBean("user1");
//        System.out.println(user1);
    }
}
我们可以看到在原型模式下,他会创建每一个实例,而默认单例实例下全局只有一个实例
2.3 @Lazy
- 作⽤:延迟创建单实例对象
- 注意:⼀旦使⽤了@Lazy注解后,Spring会在使⽤这个对象时候,进⾏这个对象的创建
<bean id="" class="" lazy="false"/>
import org.junit.Test;
import org.springframework.context.support.ClassPathXmlApplicationContext;

/**
 * @description:
 * @author: shu
 * @createDate: 2023/7/29 23:05
 * @version: 1.0
 */
public class AplTest {


    /**
     * @description: 测试组件注解
     */
    @Test
    public void componentTest() {
        ClassPathXmlApplicationContext applicationContext = new ClassPathXmlApplicationContext("applicationContext.xml");
        // 注解方式创建对象时,对象的id默认为类名首字母小写
        Object user = applicationContext.getBean("user");
        System.out.println(user);
        // 通过类型获取对象
        Object user1 = applicationContext.getBean("user");
        System.out.println(user1);
//        // 配置
//        Object user1 = applicationContext.getBean("user1");
//        System.out.println(user1);
    }

    /**
     * 懒加载测试
     */
    @Test
    public void lazyTest() {
        ClassPathXmlApplicationContext applicationContext = new ClassPathXmlApplicationContext("applicationContext.xml");
        // 首先获取所有的bean
        String[] beanDefinitionNames = applicationContext.getBeanDefinitionNames();
        // 遍历所有的bean
        for (String beanDefinitionName : beanDefinitionNames) {
            // 获取bean的类型
            Class<?> type = applicationContext.getType(beanDefinitionName);
            // 输出bean的类型
            System.out.println(type);
        }
        Object user = applicationContext.getBean("user");
        System.out.println(user);

    }
}
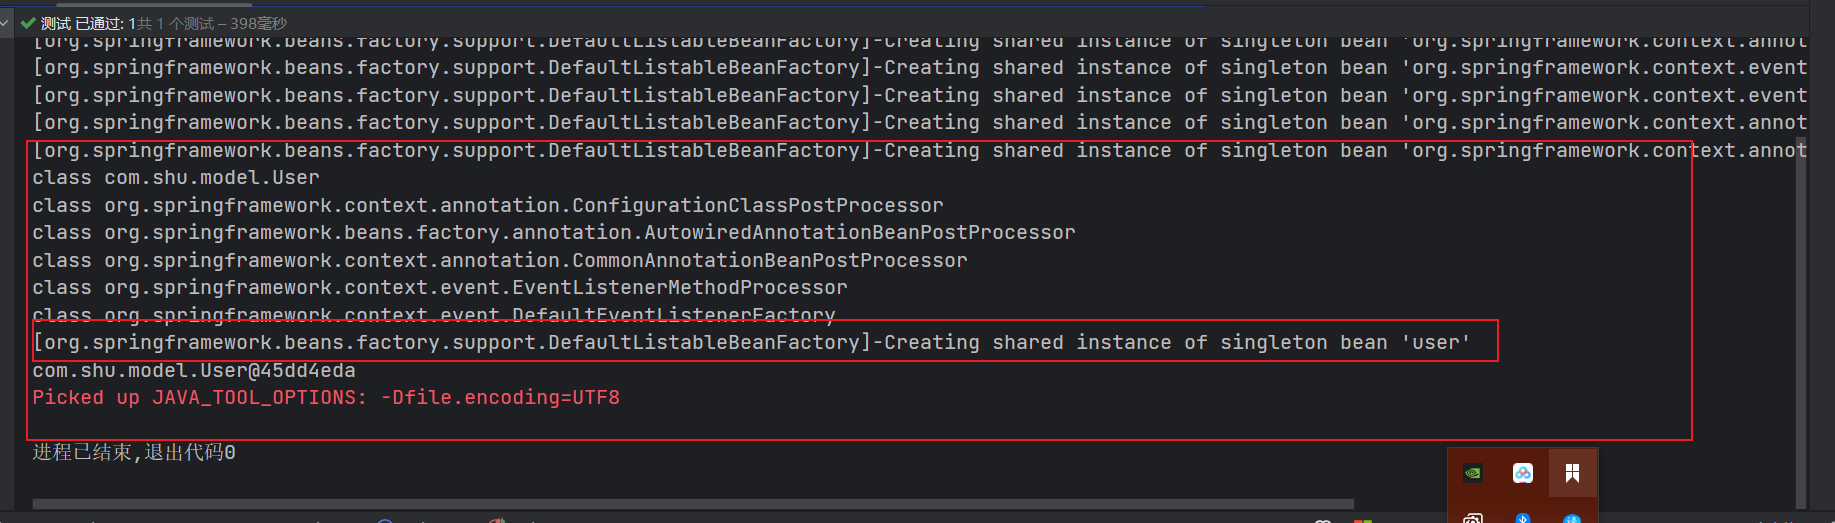
我们可以观察到它在我们使用的时候才创建的Bean实例
2.4 生命周期相关
- 初始化相关⽅法
@PostConstruct`` InitializingBean - 销毁⽅法
@PreDestroyDisposableBean - 注意:上述的2个注解并不是Spring提供的,
JSR(JavaEE规范)520 - 再⼀次的验证,通过注解实现了接⼝的契约性
package com.shu.model;
import org.springframework.context.annotation.Lazy;
import org.springframework.context.annotation.Scope;
import org.springframework.stereotype.Component;
import javax.annotation.PostConstruct;
import javax.annotation.PreDestroy;
/**
* @description: 用户类
* @author: shu
* @createDate: 2023/7/29 23:04
* @version: 1.0
*/
@Component
@Lazy
public class User {
private String name;
private int age;
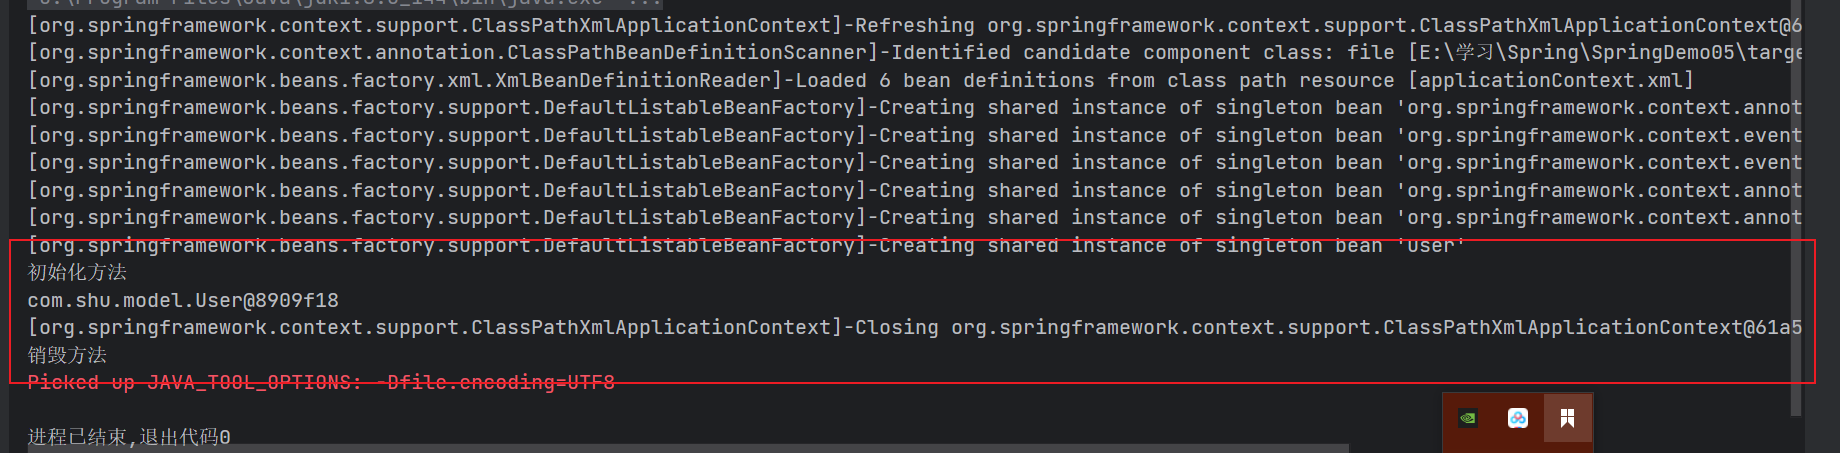
@PostConstruct
public void init() {
System.out.println("初始化方法");
}
@PreDestroy
public void destroy() {
System.out.println("销毁方法");
}
public User(String name, int age) {
this.name = name;
this.age = age;
}
public User() {
}
public String getName() {
return name;
}
public void setName(String name) {
this.name = name;
}
public int getAge() {
return age;
}
public void setAge(int age) {
this.age = age;
}
}
    /**
     * 懒加载测试
     */
    @Test
    public void lazyTest() {
        ClassPathXmlApplicationContext applicationContext = new ClassPathXmlApplicationContext("applicationContext.xml");
//        // 首先获取所有的bean
//        String[] beanDefinitionNames = applicationContext.getBeanDefinitionNames();
//        // 遍历所有的bean
//        for (String beanDefinitionName : beanDefinitionNames) {
//            // 获取bean的类型
//            Class<?> type = applicationContext.getType(beanDefinitionName);
//            // 输出bean的类型
//            System.out.println(type);
//        }
        Object user = applicationContext.getBean("user");
        System.out.println(user);
        applicationContext.close();

    }
2.5 注入相关注解
2.5.1 @Autowired
Autowired注解基于类型进⾏注⼊ [推荐]- 基于类型的注⼊:注⼊对象的类型,必须与⽬标成员变量类型相同或者是其⼦类 (实现类)
Autowired Qualifier基于名字进⾏注⼊ [了解]- 基于名字的注⼊:注⼊对象的id值,必须与Qualifier注解中设置的名字相同
Autowired注解放置位置- 放置在对应成员变量的set⽅法上
- 直接把这个注解放置在成员变量之上,Spring通过反射直接对成员变量进⾏ 注⼊(赋值)[推荐]
JavaEE规范中类似功能的注解JSR250 @Resouce(name="userDAOImpl")基于名字进⾏注⼊@Autowired() @Qualifier("userDAOImpl")- 注意:如果在应⽤
Resource注解时,名字没有配对成功,那么他会继续 按照类型进⾏注⼊ JSR330 @Inject作⽤@Autowired完全⼀致 基于类型进⾏注⼊ ---》EJB3.0
package com.shu.service;


import com.shu.mapper.UserMapper;
import com.shu.model.User;
import org.springframework.beans.factory.annotation.Autowired;
import org.springframework.stereotype.Service;

import java.util.Random;

/**
 * @description:
 * @author: shu
 * @createDate: 2023/7/24 20:10
 * @version: 1.0
 */
@Service
public class UserService {

    @Autowired
    private UserMapper userMapper;

    public void setUserMapper(UserMapper userMapper) {
        this.userMapper = userMapper;
    }

    /**
     * 查询所有用户
     */
    public void getUser(){
        userMapper.getUserList().forEach(System.out::println);
    }

    /**
     * 新增用户
     */
    public void addUser() {
        int nextInt = new Random().nextInt(100);
        userMapper.addUser(new User(5,"shu04"+nextInt,"123456"));
    }

    /**
     * 修改用户
     */
    public void updateUser() {
        userMapper.updateUser(new User(4, "sh256", "123456"));
    }


}
    /**
     * 测试 @Autowired
     */
    @Test
    public void autowiredTest() {
        ClassPathXmlApplicationContext applicationContext = new ClassPathXmlApplicationContext("applicationContext.xml");
        UserService userService = applicationContext.getBean("userService", UserService.class);
        userService.getUser();
    }
@Qualifier
package com.shu.mapper;


import com.shu.model.User;
import org.springframework.stereotype.Repository;

import java.util.List;


/**
 * @description:
 * @author: shu
 * @createDate: 2023/7/24 19:27
 * @version: 1.0
 */
@Repository("userMapper01")
public interface UserMapper {

    /**
     * 查询所有用户
     * @return
     */
    List<User> getUserList();


    /**
     * 根据id查询用户
     * @param id
     * @return
     */
    User getUserById(int id);

    /**
     * 新增用户
     */
    void addUser(User user);
    /**
     * 修改用户
     */
    void updateUser(User user);
}
package com.shu.service;


import com.shu.mapper.UserMapper;
import com.shu.model.User;
import org.springframework.beans.factory.annotation.Autowired;
import org.springframework.beans.factory.annotation.Qualifier;
import org.springframework.stereotype.Service;

import java.util.Random;

/**
 * @description:
 * @author: shu
 * @createDate: 2023/7/24 20:10
 * @version: 1.0
 */
@Service
public class UserService {

    @Autowired
    @Qualifier("userMapper01")
    private UserMapper userMapper;

    public void setUserMapper(UserMapper userMapper) {
        this.userMapper = userMapper;
    }

    /**
     * 查询所有用户
     */
    public void getUser(){
        userMapper.getUserList().forEach(System.out::println);
    }

    /**
     * 新增用户
     */
    public void addUser() {
        int nextInt = new Random().nextInt(100);
        userMapper.addUser(new User(5,"shu04"+nextInt,"123456"));
    }

    /**
     * 修改用户
     */
    public void updateUser() {
        userMapper.updateUser(new User(4, "sh256", "123456"));
    }

}
Set方法与实例变量
//    @Autowired
//    @Qualifier("userMapper01")
    private UserMapper userMapper;


    public UserMapper getUserMapper() {
        return userMapper;
    }

    @Autowired
    public void setUserMapper(UserMapper userMapper) {
        this.userMapper = userMapper;
    }
@Resource
    @Resource
    private UserMapper userMapper;
2.5.2 @Value
- 设置xxx.properties
user.id=1
- Spring的⼯⼚读取这个配置⽂件
    <!--    配置文件地址-->
    <context:property-placeholder location="classpath:user.properties" />
- 代码 属性 @Value("${key}")
package com.shu.service;


import com.shu.mapper.UserMapper;
import com.shu.model.User;
import org.springframework.beans.factory.annotation.Autowired;
import org.springframework.beans.factory.annotation.Qualifier;
import org.springframework.beans.factory.annotation.Value;
import org.springframework.stereotype.Service;

import javax.annotation.Resource;
import java.util.Random;

/**
 * @description:
 * @author: shu
 * @createDate: 2023/7/24 20:10
 * @version: 1.0
 */
@Service
public class UserService {


    @Value("${user.id}")
    private int id;

    @Resource
    private UserMapper userMapper;


    /**
     * 根据id查询用户
     */
    public User getUserById() {
        return userMapper.getUserById(id);
    }


}
注意点
- @Value注解不能应⽤在静态成员变量上
- @Value注解+Properties这种⽅式,不能注⼊集合类型,Spring提供新的配置形式
YAML YML (SpringBoot)
2.6 包扫描注解
在某些时候我们需要指定排除有些实例,那我们应该咋样来配置
- 排除方式
annotation:排除特定的注解 不进⾏扫描
aspectj:切⼊点表达式
包切⼊点: com.shu.bean..*
类切⼊点: *..User
regex:正则表达式
custom:⾃定义排除策略框架底层开发
    <context:component-scan base-package="com.shu" annotation-config="true" >
        <context:exclude-filter type="annotation" expression="org.springframework.stereotype.Controller"/>
        <context:exclude-filter type="aspectj" expression="com.shu.model.User"/>
        <context:exclude-filter type="assignable" expression="com.shu.model.User"/>
        <context:exclude-filter type="custom" expression="com.shu.model.User"/>
        <context:exclude-filter type="regex" expression="c"/>
    </context:component-scan
@ComponentScan(basePackages = "com.shu",
 excludeFilters = {@ComponentScan.Filter(type=
FilterType.ANNOTATION,value={Service.class}),
 @ComponentScan.Filter(type=
FilterType.ASPECTJ,pattern = "*..User1")})
type = FilterType.ANNOTATION value
 .ASSIGNABLE_TYPE value
 .ASPECTJ pattern
 .REGEX pattern
 .CUSTOM value
- 包含⽅式
type:assignable:排除特定的类型 不进⾏扫描
 annotation:排除特定的注解 不进⾏扫描
 aspectj:切⼊点表达式
 包切⼊点: com.baizhiedu.bean..*
 类切⼊点: *..User
 regex:正则表达式
 custom:⾃定义排除策略框架底层开发
<context:component-scan base-package="com.shu" use-defaultfilters="false">
 <context:include-filter type="annotation"
expression="org.springframework.stereotype.Repository"/>
 <context:include-filter type="annotation"
expression="org.springframework.stereotype.Service"/>
</context:component-scan>
@ComponentScan(basePackages = "com.shu",
 useDefaultFilters = false,
 includeFilters = {@ComponentScan.Filter(type=
FilterType.ANNOTATION,value={Service.class})})
type = FilterType.ANNOTATION value
 .ASSIGNABLE_TYPE value
 .ASPECTJ pattern
 .REGEX pattern
 .CUSTOM value
2.7 思考
什么情况下使⽤注解 什么情况下使⽤配置⽂件?
@Component 替换 <bean
基础注解(@Component @Autowired @Value) 程序员开发类型的配置
1. 在程序员开发的类型上 可以加⼊对应注解 进⾏对象的创建
 User UserService UserDAO UserAction
2. 应⽤其他⾮程序员开发的类型时,还是需要使⽤<bean 进⾏配置的
 SqlSessionFactoryBean MapperScannerConfigure
总结:自己写的类用注解,不适自己写的类用配置比如:DruidDataSource,SqlSessionFactoryBean
2.8 @Configuration
Spring在3.x提供的新的注解,⽤于替换XML配置⽂件。
package com.shu.config;

import org.springframework.context.annotation.Bean;
import org.springframework.context.annotation.Configuration;

/**
 * @description:
 * @author: shu
 * @createDate: 2023/7/30 9:18
 * @version: 1.0
 */
@Configuration
public class AppConfig {


    @Bean
    public String hello(){
        return "hello";
    }

}
    /**
     * 测试@@Configuration
     *
     */
    @Test
    public void configurationTest() {
        ClassPathXmlApplicationContext applicationContext = new ClassPathXmlApplicationContext("applicationContext.xml");
        Object hello = applicationContext.getBean("hello");
        System.out.println(hello);
    }

Spring在配置Bean中加⼊了@Configuration注解后,底层就会通过Cglib的代理⽅式,来进 ⾏对象相关的配置、处理

2.9 注解的优先级问题
@Component及其衍⽣注解 < @Bean < 配置⽂件bean标签 优先级⾼的配置 覆盖优先级低配置